
Segmentation by User Events
An event is any event on a website/in a mobile app that has a date, type, and a set of mandatory and optional parameters.
Examples of such events are:
- orders;
- abandoned browses;
- abandoned carts;
- new promotions;
- price drop.
Set up segmentation by events so that custom events and their parameters are written to contact cards and can be used to create dynamic segments.
Note
Segmentation by events is available depending on your pricing plan. To activate it, contact to sales@yespo.io
Event Parameters for Contact Mapping
When using the Generate event v2 method, a new contact is created, provided segmentation is enabled for the event.
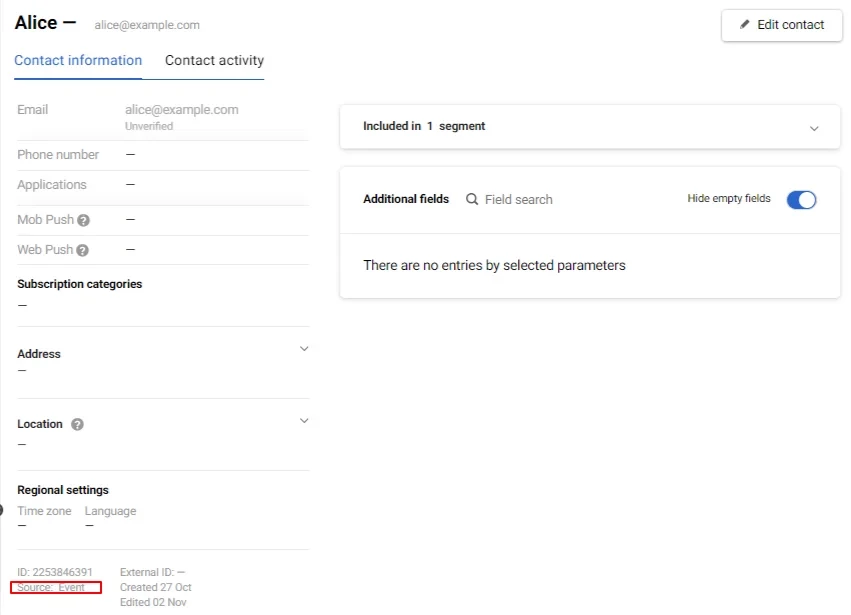
If a contact identifier is found in the event parameters, the system associates it with this contact; if not, it creates a new one. The source for creating such a contact will be recorded as Event in the contact card.
To save the event assigned to the contact, the event parameter must contain the contact identifier, by which the contact can be found in the Yespo. Also, you need to know which contact field is used as an identifier.
By default, the system connects events with contacts when passing the following parameters:
| Event parameter | Contact field |
|---|---|
| ContactId Contact_id | Contact ID |
| externalCustomerId | External ID |
| Email EmailAddress UserEmail ContactEmail | |
| Phone SMS PhoneNumber | Phone number |
| PushToken | Web push or mobile push token |
| ContactKey Contact_key | Additional contact field with the name {ContactKey} |
Note
- Standard parameter names are compared with the passed event parameter names, case insensitive.
- Parameter values, except the email address, are compared with the passed event parameter values, case sensitive.
Suppose an event has one of the parameters listed in the left column. In that case, Yespo will automatically associate it with the corresponding contact field in the system (right column) when it finds such an identifier.
Here is the event example automatically assigned to the contact:
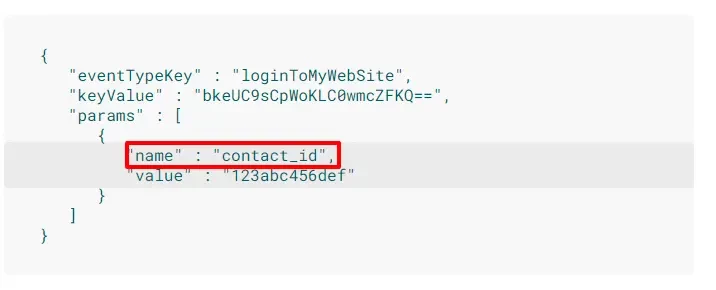
The event key is contact_id” : “123abc456ef. Yespo will assign the event to this contact if such contact exists.
Checking the event parameters
Select the event type which you will use for segmentation, and check its parameters. Let's look at the OrderDeliveredRefferal example.
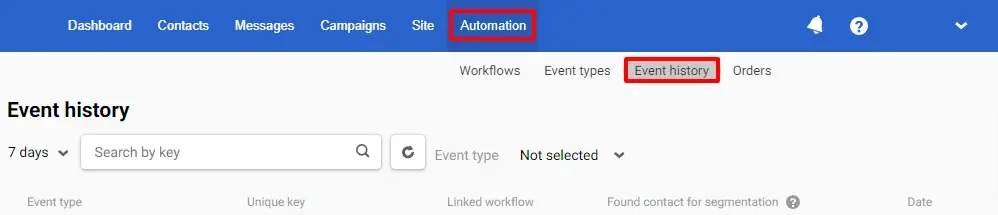
- Go to Automation → Event history.
- In the Event type drop-down menu, select the
OrderDeliveredRefferalor search it.
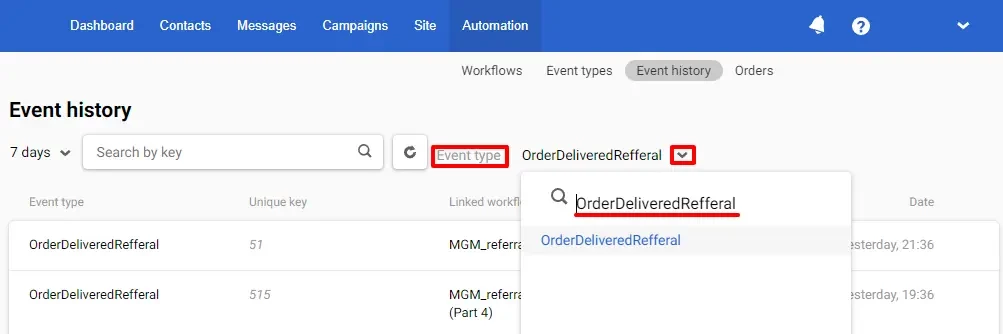
- Click the event name to see the event's parameters and check them with the parameters from the table above.
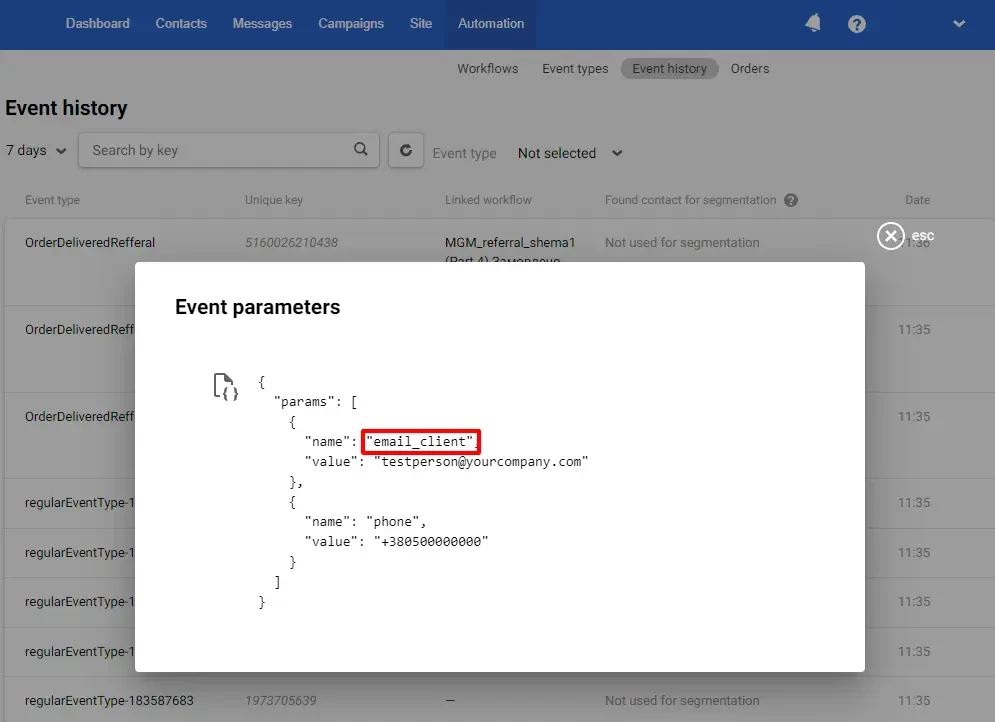
In the example, email_client parameter doesn't fit any value from the table. In this case, additional configuration for the email_client parameter is required.
| Event parameter | Contact field |
|---|---|
| Email EmailAddress UserEmail ContactEmail |
Setting event parameters
Set a matching rule to bind event parameters to a contact ID if you want to use a different event parameter name or a different contact field.
- Go to Settings → Events.
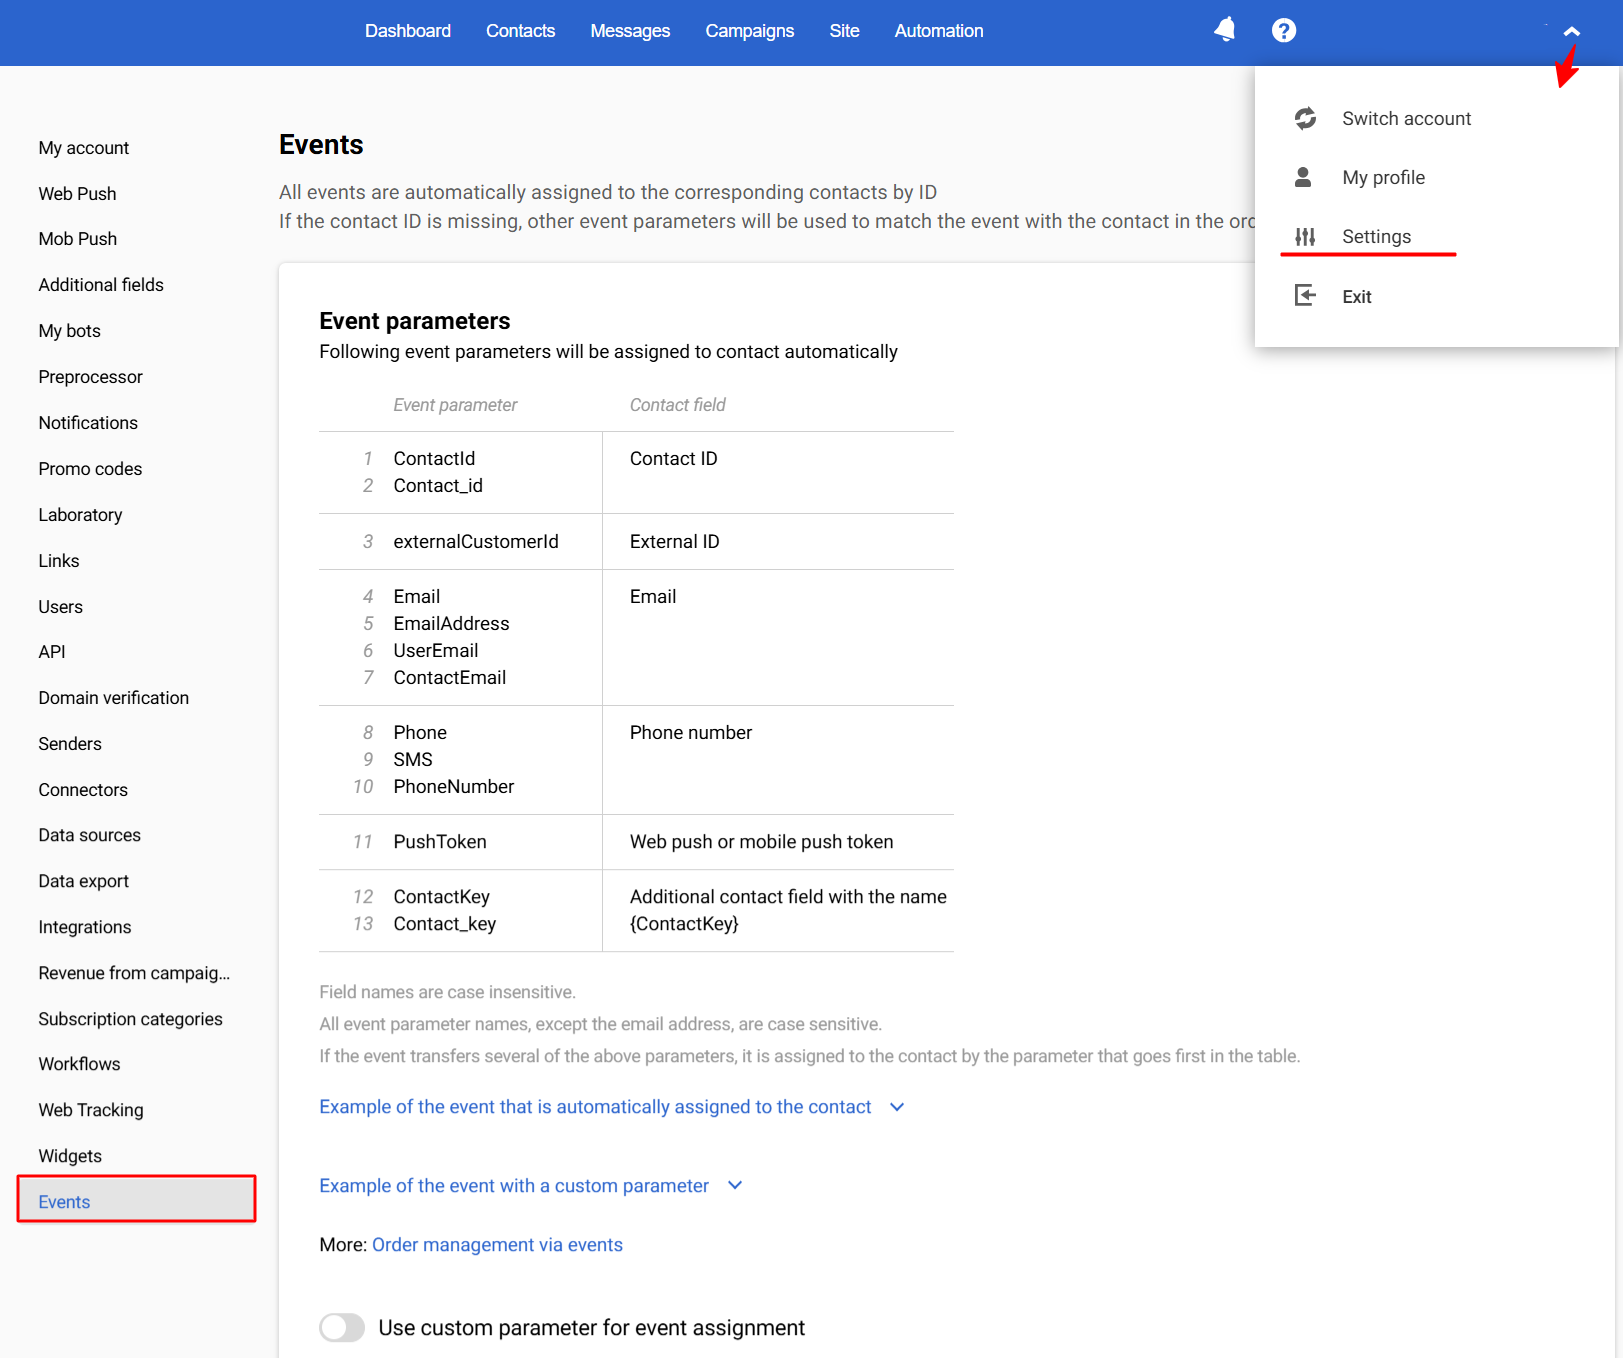
- Activate Use custom parameter for event assignment switcher, select the contact field, and enter the event parameter name.
In the example, the search for a match will go by Email additional field and email_client event parameter.

- Click Save.
Using Events for Segmentation
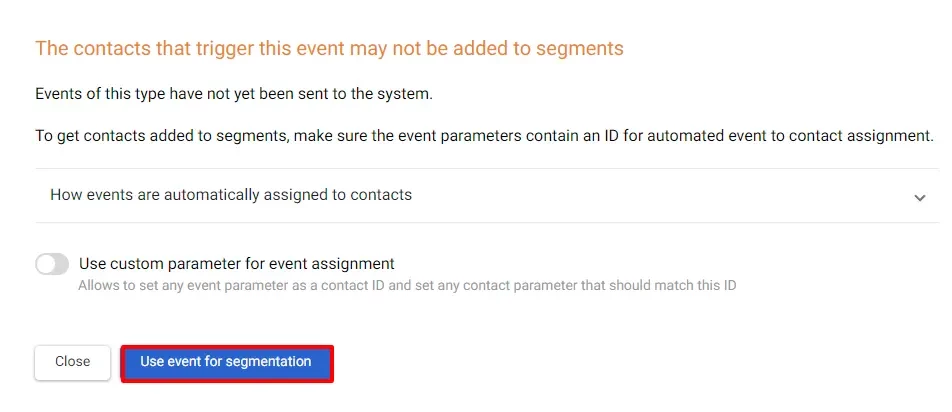
- Go to Automation → Event types and activate the switcher for the required event type.

- In a pop-up window, click the Use event for segmentation button.
Important
- Only the events that occur after the feature has been enabled are used for segmentation.
- You can use up to 50 events for segmentation.
Adding a Dynamic Segment for Segmentation by Events
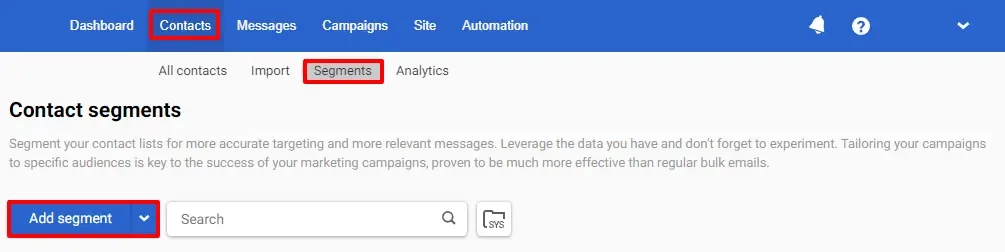
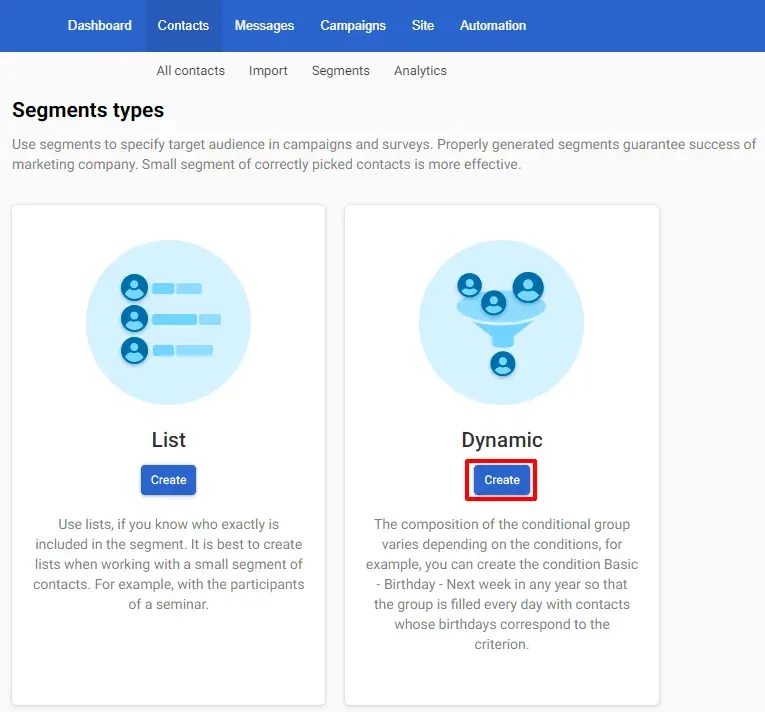
- Go to Contacts → Segments. Click the Add segment button.
- Choose the Dynamic segment type and click Create.
- Fill in the general properties:
- Segment name: it will be displayed in the general segments’ list.
- Segment purpose: for example, for regular promo campaigns.
- Tags: to find and filter the segments in the general list.
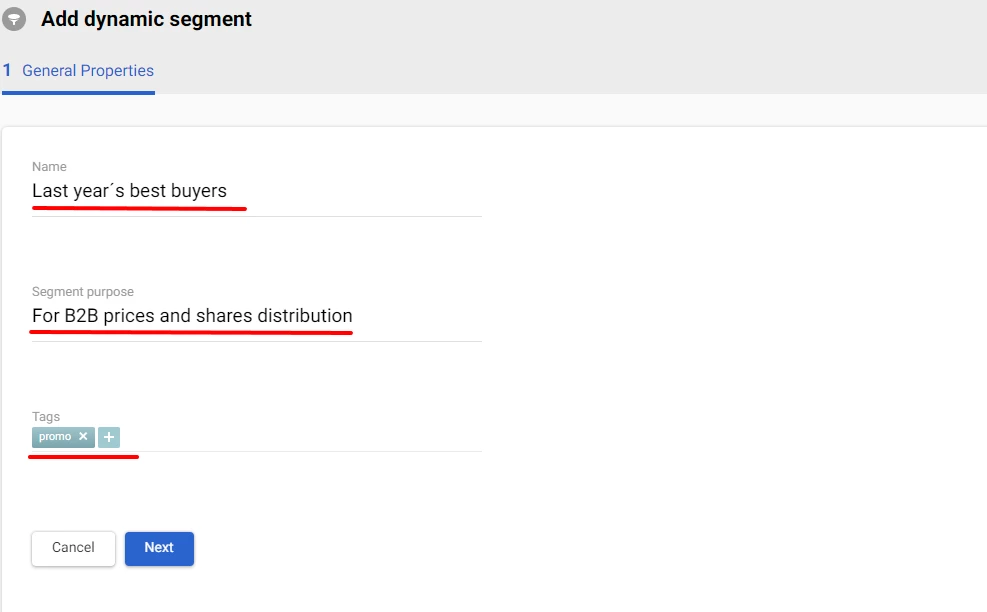
Click the Next button.
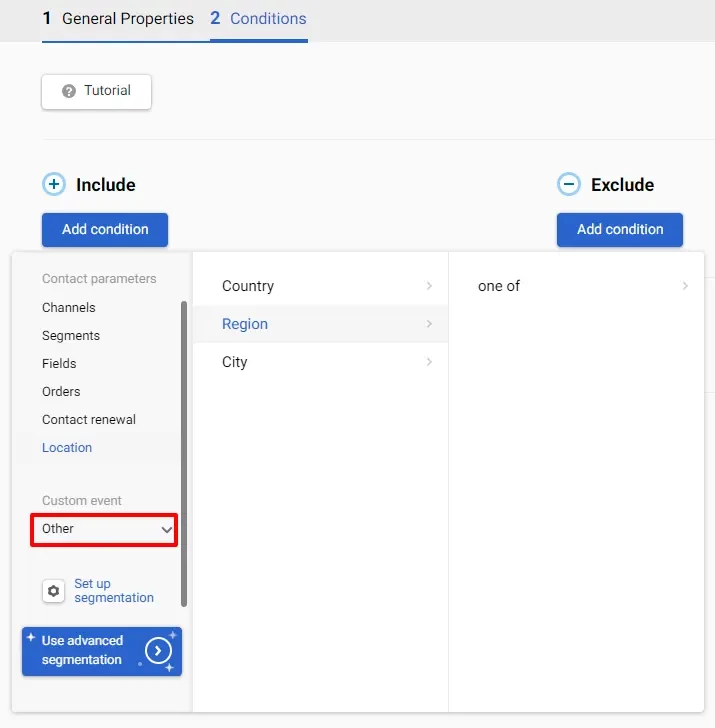
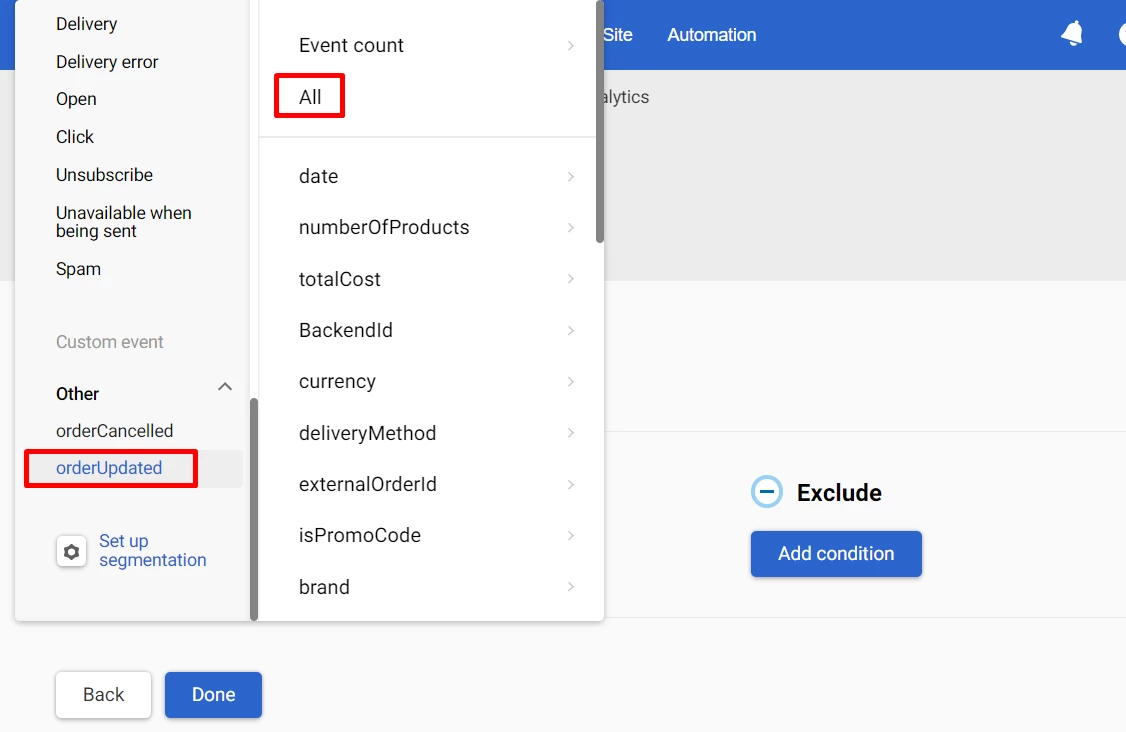
- Click the Add condition button. A new set of fields will appear in the list of conditions after the system receives event. Select the Custom event → Other fields.
- With basic segmentation, you can segment events only by the number and type.
- With advanced segmentation, you can segment by the event parameters.
For example, we need to find everyone who ordered the Super Device brand in London today for more than $ 1,500.
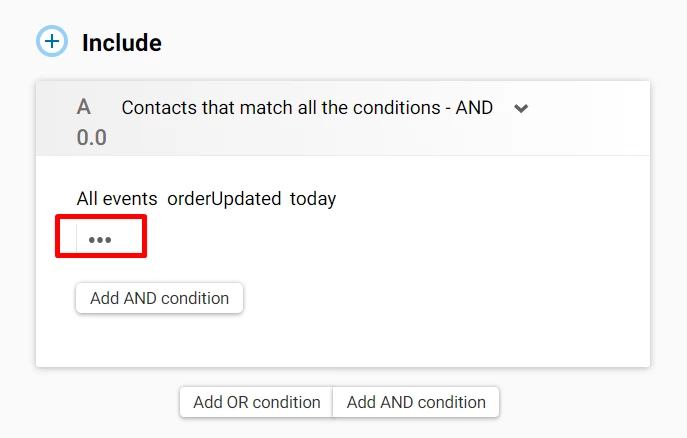
To do this, first, create a card with all the events corresponding to making an order (you can specify other parameters of the number of events: for this, in the Event count condition, specify equals, greater than, less than or the range between).
We can select the event parameters required for additional filtering by clicking on the three dots in the card.
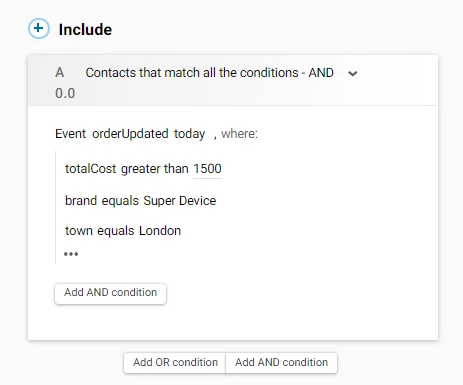
Let's choose the following options:
- brand → Super Brand.
- totalCost → more than $ 1500
- town → London
The segment card will look like this:
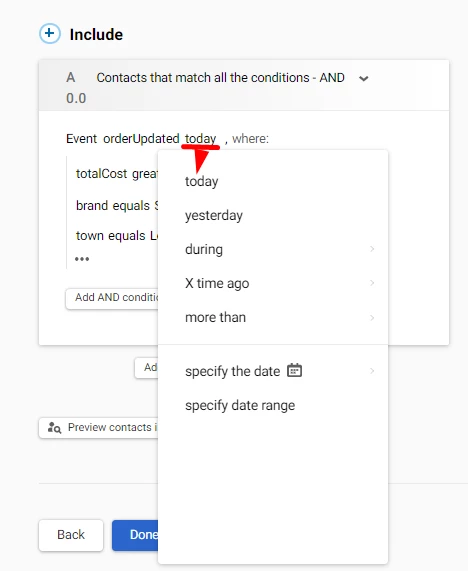
Please note: events are selected for today by default. To change the period, click on this word and select a value from the drop-down list:
- Click Done to save the segment and use it to send promo campaigns or build workflows.
Updated about 1 month ago